With only one day left in November, my Christmas spirit is well under way. I mean I have been feeling the Christmas spirit since September, but at least now it is socially acceptable. I am actually writing this while I listen to Christmas music, having a very good sing-along so my Christmas vibes are through the roof! Anyway, on with the post.
The other week I was longing for some wintery / Christmassy decorations. However, we haven't got the decorations down from the loft yet. So, I figured why not try out a little DIY. This was probably the first major successful DIY I have done so I was feeling very proud after this.
Today I will be telling you how you can create this super cute and festive garland. This was great fun to make and would be a great idea for a family crafting sesh! It's relatively easy and if I could do it then I am certain you can too. One of my favourite things about this is how it can be used through the entirety of winter and is great for the build up to the festivities. So, with that said, on with the craft!
What you will need:
A wodge of A4 paper in whatever colour/pattern you desire.
(You can also use felt if possible as this will make it stronger.)
Some brown string.
A pair of scissors.
A pre-cut snowflake.
(You can either create this yourself or print off a template.)
Sticky labels the same colour as your paper.
A hole punch.
Step 1- Fold your paper in half and draw on your snowflake.
Step 2- Cut out your snowflake into individual snowflakes. Repeat this until you have the desired numbered of snowflakes.
Step 3- Punch a hole into one end of the snowflakes. Taking your scissors, snip up the sticky label creating approx 1cm flaps. Then taking your hole punch create a hole in each flap.
Step 4- Cut the flaps into squares with the hole central and apply to the pre-cut hole in your snowflake. This will ensure a stronger hole for threading and reduce the chances of your garland breaking.
Step 5- Thread the string through the snowflakes and voila! You have a garland!
You can easily leave your garland as it is at this point and hang it up (I recommend the window or fireplace). However, I decided to add a little more sparkle to my snowflakes by adding glitter!
To do this part you will need:
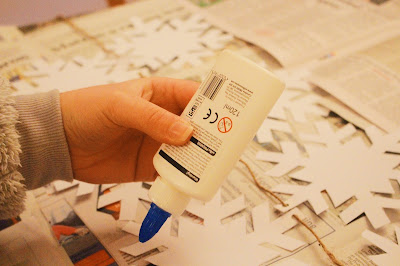
PVA glue.
Glitter (I chose a copper colour).
OR
A glitter paint.
This step is super simple but makes such a difference. In order to do this, you just need to take your glue and go along the lines in the snowflake.
Then just sprinkle the glitter and you're done! Just by adding a little glitter, this garland is transformed and you have a super personal and cute festive decoration!
This DIY is great fun to make is simple enough for any DIY newbie. It's great for the season and just adds that festive element to your home!
I hope you enjoyed this post and maybe want to give it a go?!
Happy Holidays and I will speak to you soon!
Holly Xx


No comments
Post a Comment